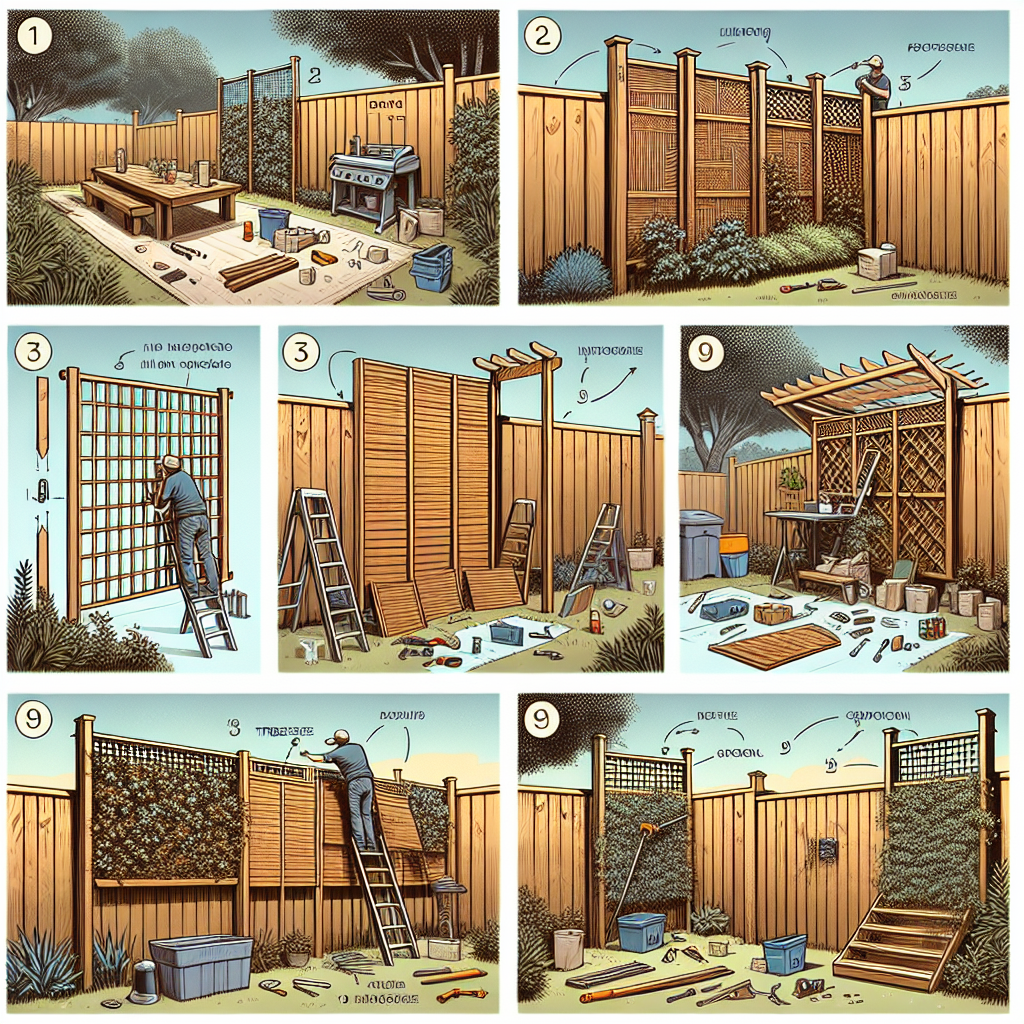
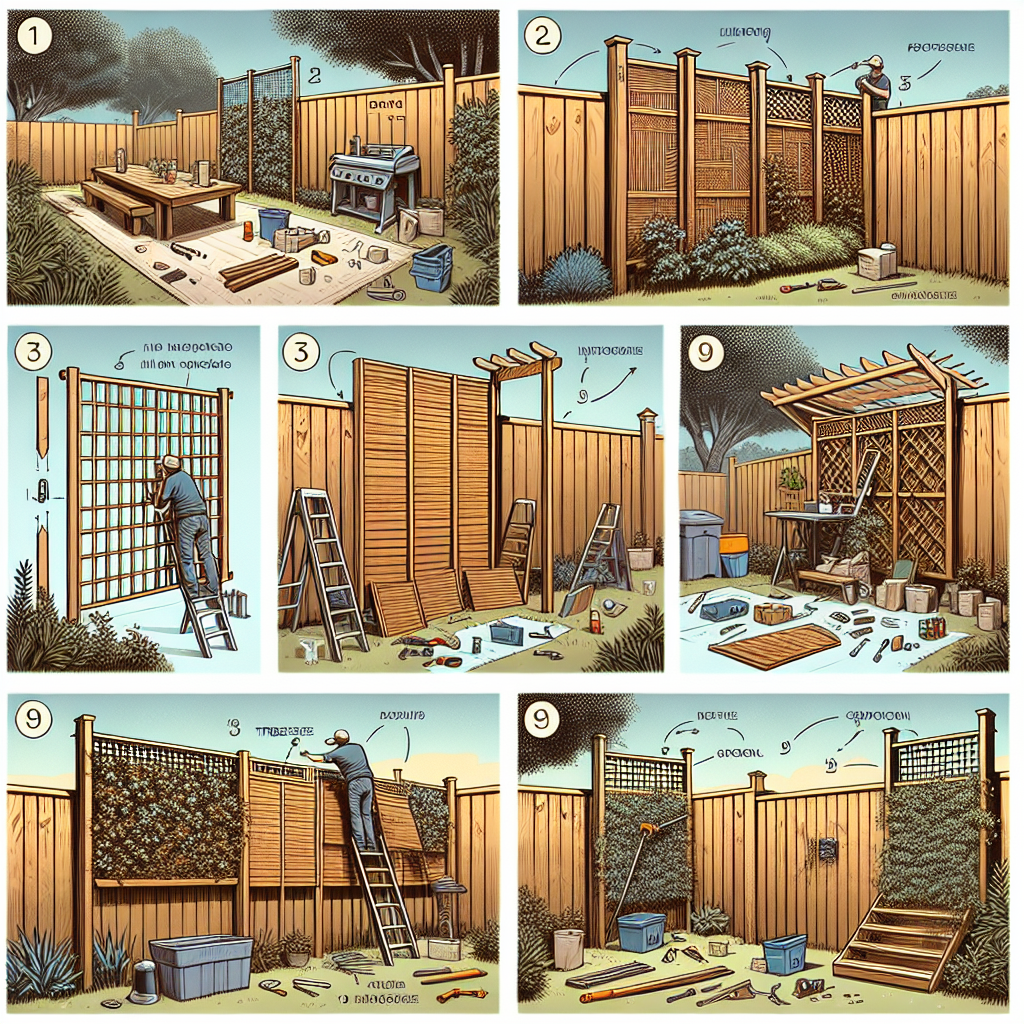
Imagine transforming your ordinary wooden fence into a private oasis in just a few simple steps. With our step-by-step guide, you’ll learn how to expertly install a privacy screen on your wood fence. Say goodbye to prying eyes and hello to a cozy outdoor sanctuary. Whether you’re seeking solitude, shielding your backyard from nosy neighbors, or simply adding a touch of elegance to your space, this article will teach you everything you need to know about installing a privacy screen on your wood fence. Prepare to enhance your outdoor living experience and create an inviting haven where you can enjoy your own personal sanctuary.
Tools and Materials
To successfully install a privacy screen on your wood fence, you will need a few essential tools and materials. Here’s a list of what you’ll need:
Measuring tape
A measuring tape will help you accurately measure the dimensions of your fence and the privacy screen panels.
Power drill
A power drill is necessary for drilling holes and attaching the privacy screen panels to your fence.
Screws
You’ll need screws to secure the privacy screen panels to the wood fence. Make sure to choose screws that are suitable for outdoor use and will securely hold the panels in place.
Privacy screen panels
Privacy screen panels are the main components of your privacy screen. These panels come in various materials, designs, and sizes. Make sure to choose panels that match your aesthetic preferences and provide the desired level of privacy.
Level
A level is essential for ensuring that your privacy screen is straight and level. This will prevent any unevenness or crookedness in the final installation.
Pencil
A pencil will be useful for marking measurements and panel placements on your fence.
Saw
You may need a saw to trim or cut the privacy screen panels to fit perfectly on your fence. This will help achieve a professional and seamless look.
Post hole digger
A post hole digger is necessary if you plan to install posts for added stability. This tool will help you dig holes in the ground for the posts.
Concrete mix
If you choose to install posts, you’ll need concrete mix to secure them in the ground and provide a strong foundation.
String
String can be used to create guidelines and ensure accurate panel placement and alignment.
Now that you have a clear idea of the tools and materials required, let’s move on to preparing your fence for the privacy screen installation.
Preparing the Fence
Assess the Fence
Before installing a privacy screen, take a close look at your existing fence. Assess its condition and stability. Make sure there are no damaged or loose parts that need to be repaired or replaced.
Measure the Fence
To determine the quantity and size of privacy screen panels you’ll need, measure the length and height of your fence. Use a measuring tape and record these measurements for reference during the installation process.
Inspect the Wood
Inspect the wood of your fence for any signs of rot or decay. If you come across any damaged sections, consider replacing those parts before proceeding with the privacy screen installation. This will ensure the longevity and durability of the overall structure.
Clean the Fence
Before attaching the privacy screen panels, it’s essential to clean your fence thoroughly. Remove any dirt, debris, or cobwebs using a brush or a power washer if needed. This will create a clean surface for proper attachment and ensure a neat final result.
Now that your fence is prepared, it’s time to choose the privacy screen panels that best suit your needs.
Choosing the Privacy Screen
Material Options
Privacy screen panels are available in a variety of materials such as wood, vinyl, metal, and composite. Each material has its own unique features and advantages. Consider factors such as maintenance requirements, durability, and aesthetics when selecting the material for your privacy screen.
Size and Design
Privacy screen panels come in different sizes and designs. Measure the height and length of your fence and choose panels that fit the overall dimensions. Additionally, consider the design of the panels and how they will complement your existing fence or outdoor decor.
Privacy Level
The level of privacy provided by the screen panels can vary depending on the design and material. Some panels offer full privacy, while others provide partial privacy with small gaps between the slats. Assess your privacy needs and select panels that offer the desired level of privacy.
Durability
Since your privacy screen will be exposed to various weather conditions, it’s important to choose panels that are durable and resistant to moisture, fading, and warping. Opt for materials that are known for their longevity, such as treated wood or weather-resistant composites.
Now that you’ve chosen the ideal privacy screen panels for your project, it’s time to mark the fence and plan the installation.
Marking the Fence
Determining the Height
Take into account the desired height of your privacy screen when marking the fence. Consider factors such as your surroundings, the level of privacy needed, and any local regulations or restrictions. Use a measuring tape and pencil to mark the desired height at regular intervals along the fence.
Locating the Posts
If you’re installing posts for added stability, mark the locations where the posts will be placed. Use a measuring tape and pencil to mark the spots evenly along the fence line. This will ensure proper spacing and a balanced installation.
Marking the Panel Placement
Using a measuring tape and pencil, mark the positions where each privacy screen panel will be attached. Make sure to measure accurately and maintain equal spacing between the panels. This will ensure a visually pleasing and balanced installation.
Once the fence is marked and ready, it’s time to start installing the privacy screen starting with the posts.
Installing the Posts
Digging Post Holes
If you’ve decided to install posts, start by digging post holes using a post hole digger. The holes should be deep enough to provide stability and support for the posts. Follow any local regulations or guidelines for the appropriate depth and width of the holes.
Setting the Posts
Place the posts into the dug holes and ensure they are level and upright. Use a level to check their alignment from multiple angles. Make any necessary adjustments before proceeding to the next step. The posts should be securely positioned and ready to be secured in place.
Securing the Posts with Concrete Mix
To provide a strong foundation for the posts, mix the concrete according to the manufacturer’s instructions. Pour the concrete into the post holes, making sure it fully surrounds and supports the posts. Use a level to check the posts’ alignment one final time before the concrete sets. Allow the concrete to cure as specified by the manufacturer.
Now that the posts are securely in place, it’s time to attach the privacy screen panels.
Attaching the Privacy Screen Panels
Measuring the Panel Size
Measure the dimensions of each privacy screen panel to ensure they fit properly within the marked areas on the fence. Take into account any necessary trimming or adjustments that might be required.
Preparing the Panels
If needed, trim or cut the privacy screen panels to fit perfectly within the marked areas on the fence. Use a saw or any appropriate cutting tool for the specific material you’ve chosen for your privacy screen panels. Take precise measurements and ensure smooth and clean cuts.
Aligning the First Panel
Align the first privacy screen panel with the marked area on the fence. Use a level to ensure that it is straight and even. Make any necessary adjustments before proceeding to the next step. Proper alignment of the initial panel is crucial for maintaining the overall levelness and stability of the privacy screen.
Attaching the First Panel
Secure the first privacy screen panel to the fence using screws and a power drill. Make sure to attach it firmly and evenly to the fence, ensuring that it aligns with the marked measurements and guidelines. Double-check its levelness before proceeding.
Continuing with the Remaining Panels
Repeat the process of aligning and attaching the remaining privacy screen panels, ensuring equal spacing and proper alignment. Use the marked guidelines and previous panels as references to maintain consistency throughout the installation.
Trimming or Cutting Panels if Necessary
If any panels require additional trimming or adjustment to fit properly, measure and make the necessary cuts before attaching them to the fence. Take your time to ensure precision and a seamless final result.
Now that the privacy screen panels are in place, it’s important to ensure that the entire installation is level and visually appealing.
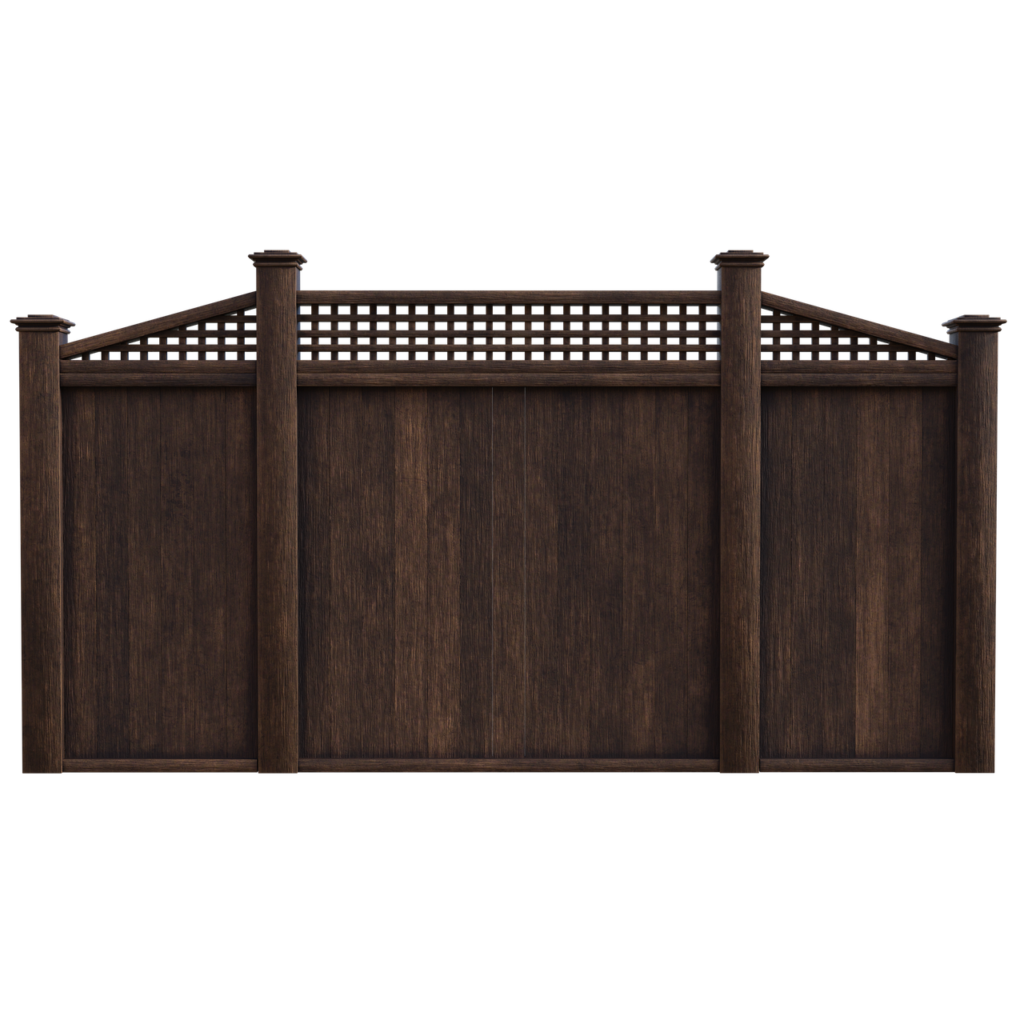
Ensuring Levelness
Using a Level
Check the levelness of your privacy screen using a level. Place the level horizontally and vertically against the panels at different intervals to ensure that they are aligned and evenly spaced. Make any adjustments as needed to achieve a level and visually pleasing installation.
Adjusting the Panels
If any panels appear crooked or uneven, adjust them by loosening the screws and repositioning them. Use a level to guide you and ensure proper alignment. Tighten the screws once the panels are adjusted to maintain their position.
With the privacy screen panels securely attached and level, it’s time to add the finishing touches.
Adding Cap and Trim
Choosing Cap and Trim Options
Select cap and trim pieces that complement your privacy screen panels and enhance the overall aesthetic appeal of the installation. Caps and trim can be made of materials such as wood, vinyl, or metal. Consider the style and design of your privacy screen when selecting the appropriate cap and trim pieces.
Measure and Cut Cap and Trim Pieces
Measure the dimensions of the fence and privacy screen panels to determine the required length of the cap and trim pieces. Cut the cap and trim to fit the length and height of the fence using a saw or appropriate cutting tool. Make clean and precise cuts to achieve a professional and polished look.
Attaching the Cap and Trim
Secure the cap and trim pieces to the top and sides of the privacy screen panels using screws and a power drill. Make sure the cap fits snugly on top of the panels and the trim pieces align with the edges. This will add a finishing touch to your privacy screen and provide extra protection for the panels.
With the cap and trim pieces in place, your privacy screen installation is almost complete. Let’s move on to the final steps.
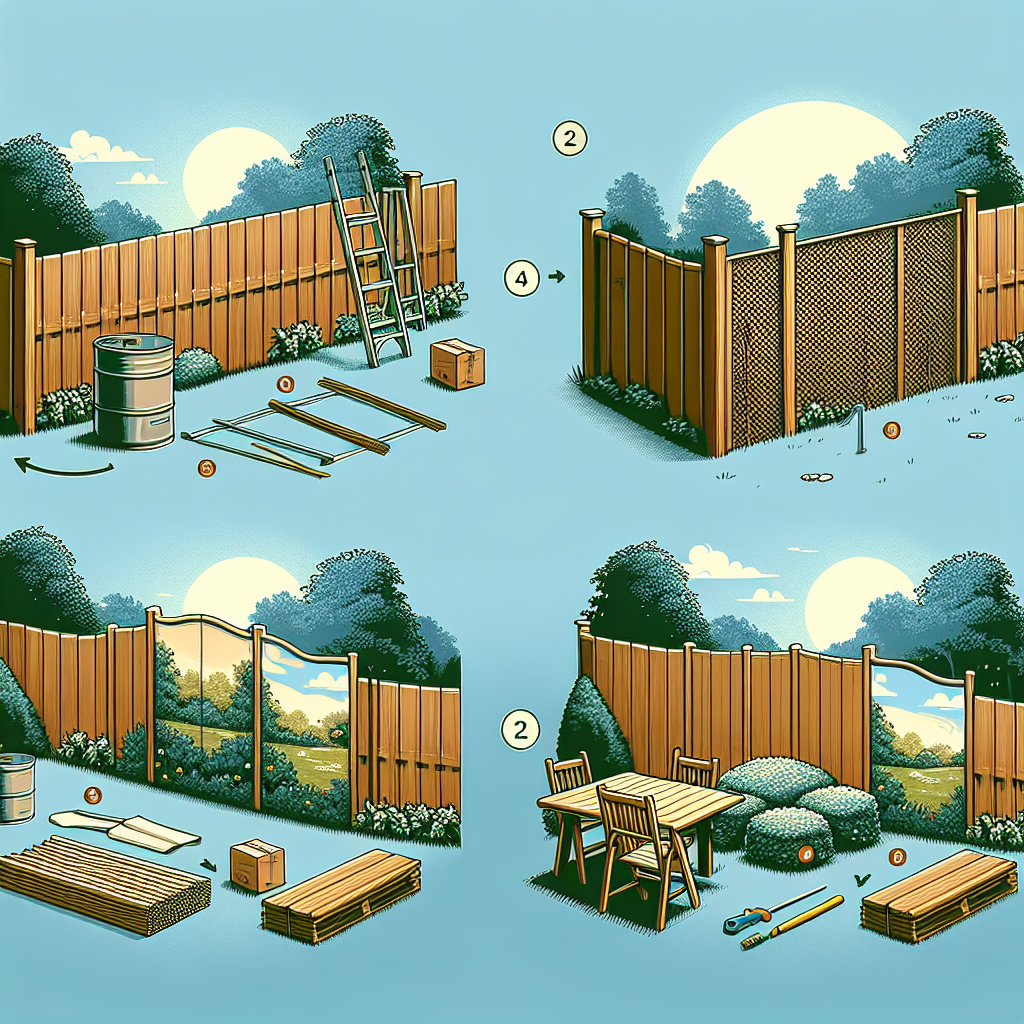
Finishing Touches
Inspecting the Installation
Take a step back and inspect the entire privacy screen installation. Check for any loose screws, misaligned panels, or other issues that might require adjustment. Make any necessary corrections to ensure a sturdy and visually pleasing final result.
Cleaning Up
Dispose of any debris, packaging, or excess materials from the installation area. Clean up the work area and make sure it is safe and tidy. This will give you a sense of accomplishment and leave your outdoor space looking neat and organized.
Staining or Painting the Fence
If desired, you can stain or paint your privacy screen and fence to further enhance their appearance and protect the wood from weathering. Choose a high-quality outdoor stain or paint that matches your aesthetic preferences. Follow the manufacturer’s instructions for the application process to ensure long-lasting results.
Congratulations! You have successfully installed a privacy screen on your wood fence. Take a moment to appreciate the added privacy and aesthetic value it brings to your outdoor space.
Conclusion
Installing a privacy screen on your wood fence is a rewarding project that enhances both the privacy and visual appeal of your outdoor area. By following the steps outlined in this article, you can achieve a professional and seamless installation. Remember to assess, measure, and prepare your fence, choose the appropriate privacy screen panels, mark the fence accurately, install the posts securely, attach the panels with care, ensure levelness, add cap and trim pieces for a finished look, and complete the project with a thorough inspection and cleanup. Enjoy your newfound privacy and the beauty of your upgraded wood fence with a privacy screen!
